
Materials:
17.5 inches of scrap fabric (mine was 2.5 inches wide, but you can adjust to your liking)
4.5 inches elastic
thread, scissors, pins, yada, yada, yada
1. Fold in and iron long edges 1/4". Note** This is the lazy-woman's headband. You could pin your pieces right sides together, stitch and turn-n-topstitch. But turning is SUCH a pain, so we're going to fake it.
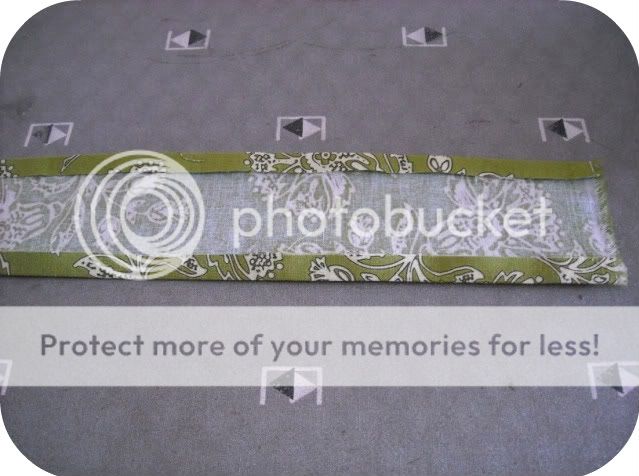 2. Fold in half lengthwise and iron. Fold in short edges 1/4" and snip corners.
 Iron over again to get a crisp edge. I like to also pin the long edge. (Pins are my FRIENDS-except when kids finds them on the floor.)
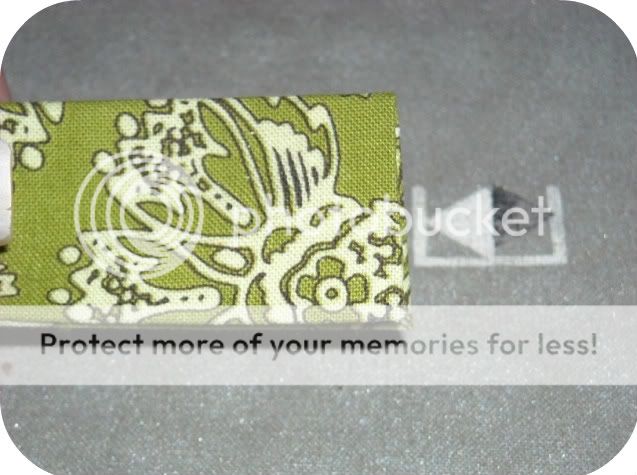 3. Head to the machine. Sew as 1/8" seam down long side. Be carefully not to sew over our pin-friends, that's how needles break. When done with that side, sew down the other long side. Just like you would if you had turned-n-topstitched it. But with a lot less work :)
 4. Pin elastic about 3/4" in, into short the end.
 5. Sew about 1/8" from edge. Move headband over 1/8" and sew another line, for extra security and staying power. Repeat on other end.
 6. Model your new fab headband!
Thank you!! Beeen looking for something i can make for my neices for Chritmas!
ReplyDeleteWhat a cute head band! Super simple. I think I'll make a few of these!
ReplyDeleteWhat a cute head band! Super simple. I think I'll make a few of these!
ReplyDeleteWhat a cute head band! Super simple. I think I'll make a few of these!
ReplyDelete